

Create an NFT Marketplace that Accepts GAME
Follow these steps to deploy an ERC-721 NFT marketplace and configure it to accept the GAME token for payments. You'll deploy the contract on Pulsechain, set marketplace fees, and then mint your first item and list it for sale or auction.
1 Copy the GAME Token Address
Copy the address of the GAME token. You will use this as the payment token in the marketplace configuration so buyers can purchase NFTs using GAME.
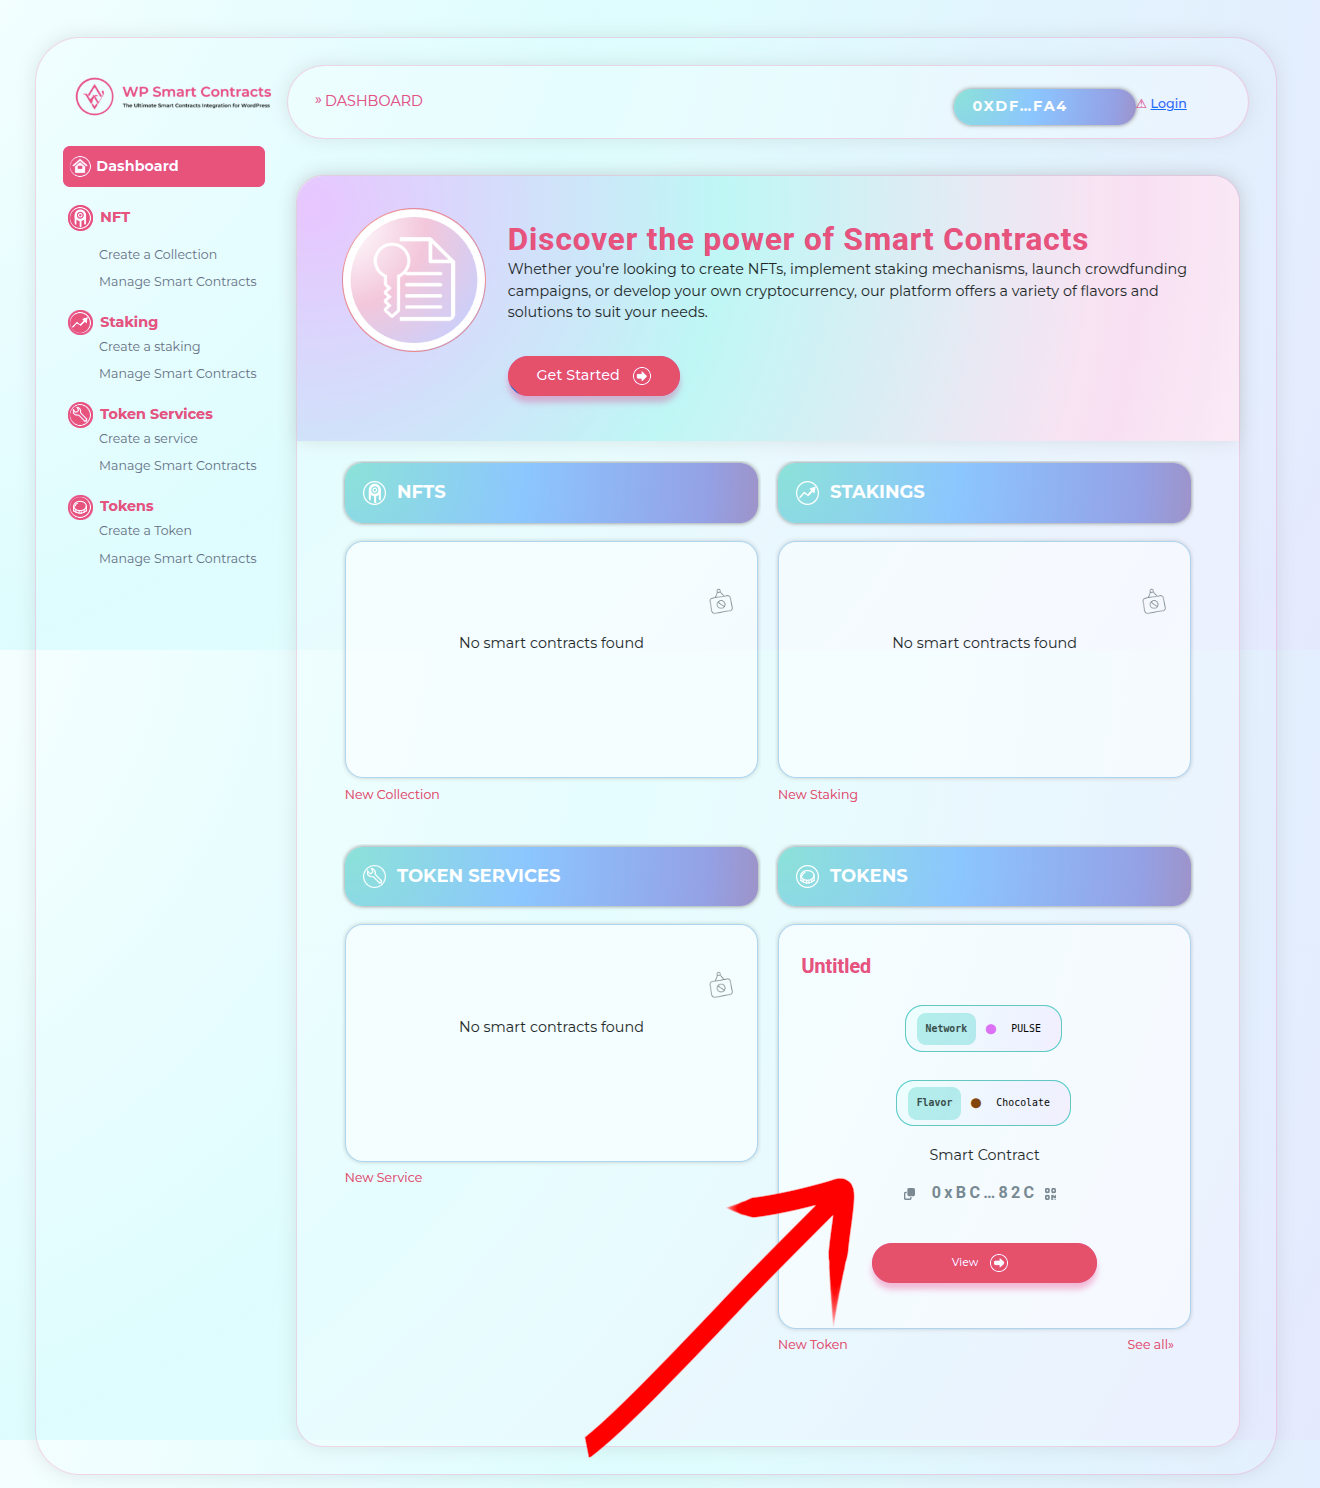
2 Select the NFT Contract
From the launcher dashboard click Get Started and choose NFT. This opens the NFT deployment wizard to create your marketplace-ready NFT contract.
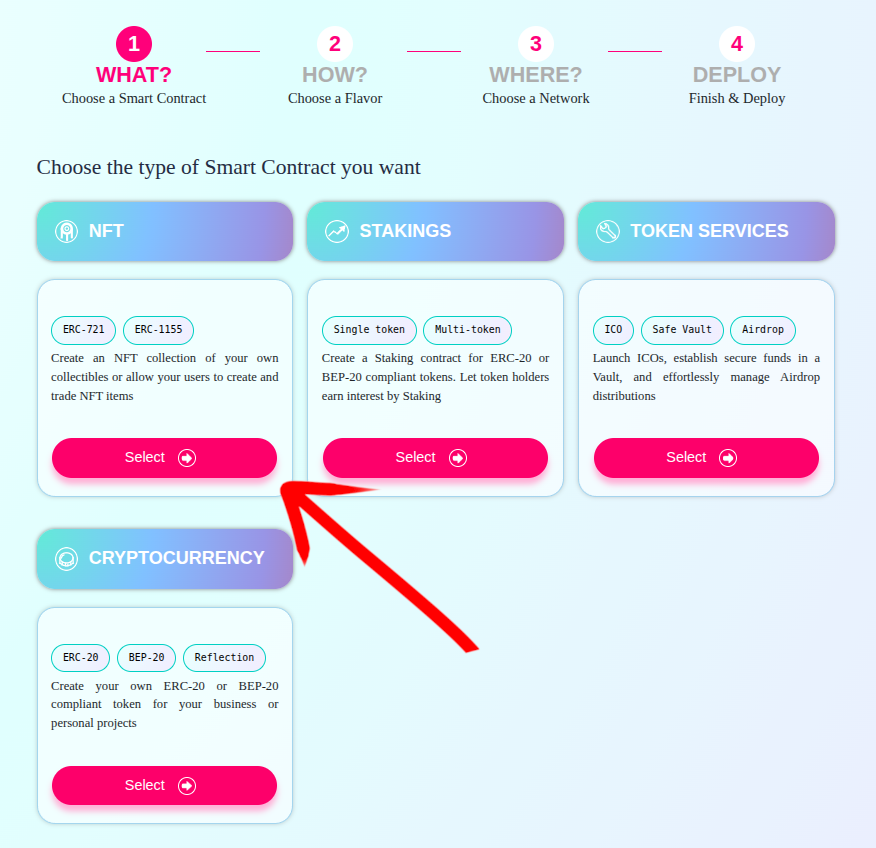
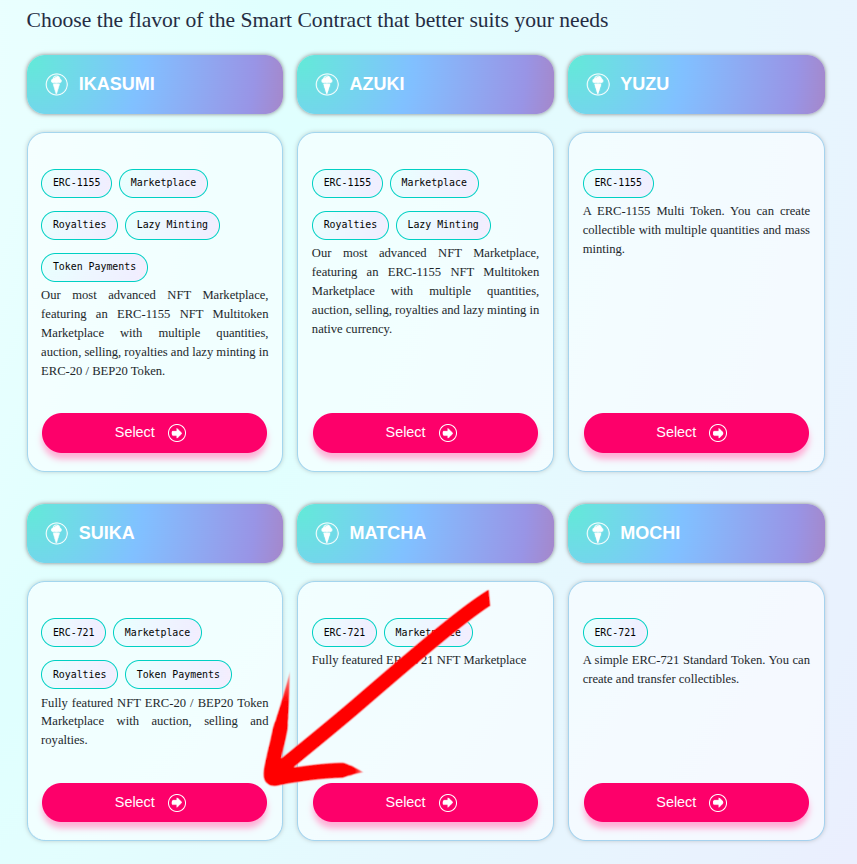
3 Choose Suika (ERC-721 with Token Payments)
Select the Suika flavor. Suika is an ERC-721 implementation that supports marketplace operations and token-based payments. This allows purchases using your GAME token instead of native network currency.
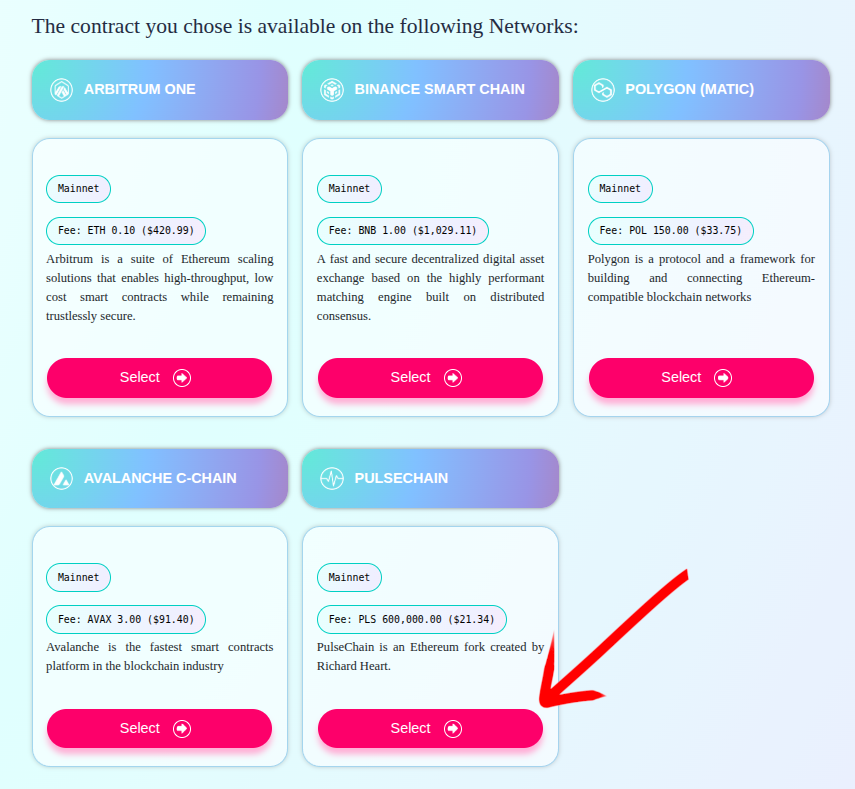
4 Select Network
Choose Pulsechain as the deployment network. Make sure your wallet is connected to Pulsechain and has enough balance to pay for deployment fees.
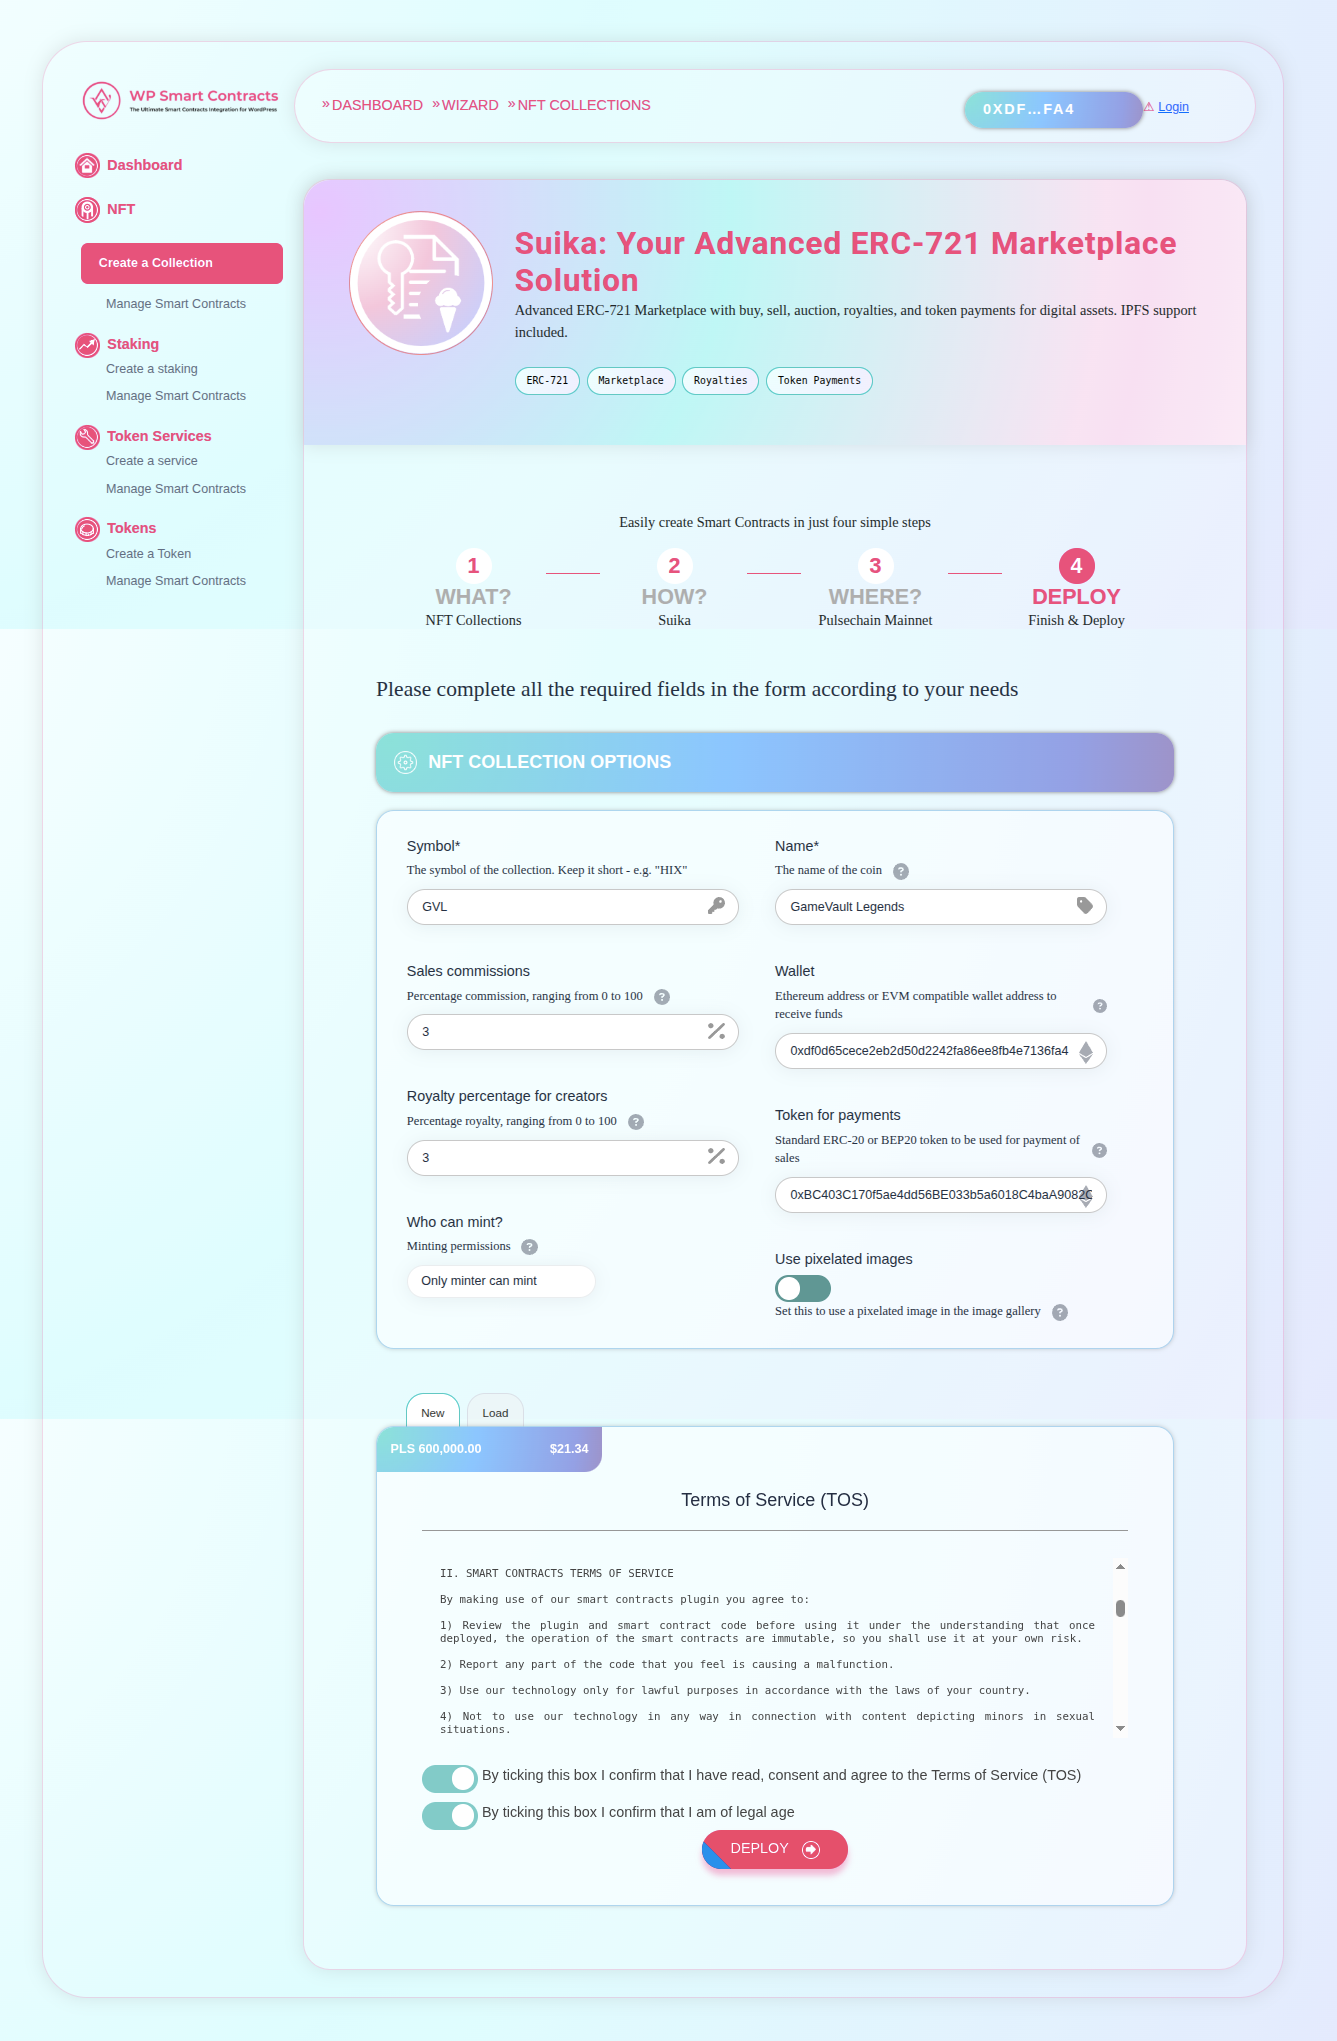
5 Configure Contract Parameters
Fill out all required fields for your NFT contract and marketplace settings:
- Collection Name & Symbol: The public name and ticker for your NFTs.
- Base URI / Metadata: Optional initial metadata configuration if available.
- Payment Token: Paste the GAME token address copied in Step 1.
- Marketplace Fees: Define platform fee percentage and fee recipient wallet.
- Royalties (if available): Set creator royalty percentage and recipient address.
- Terms of Service: Read and accept ToS, then review the deployment fee.
When ready, click Deploy.
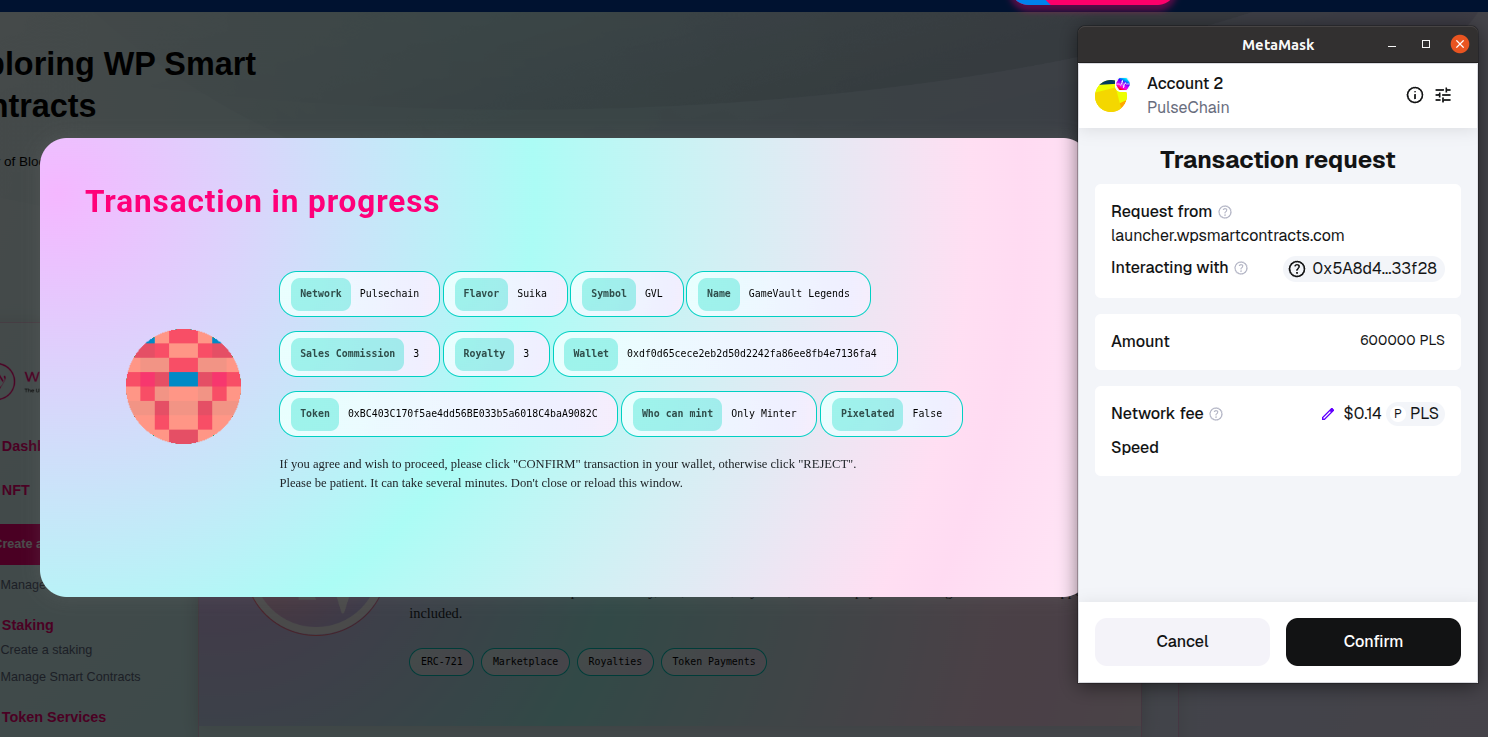
6 Review and Confirm in MetaMask
Verify the parameters one last time and confirm the deployment transaction in MetaMask. Wait for the transaction to be mined on Pulsechain.
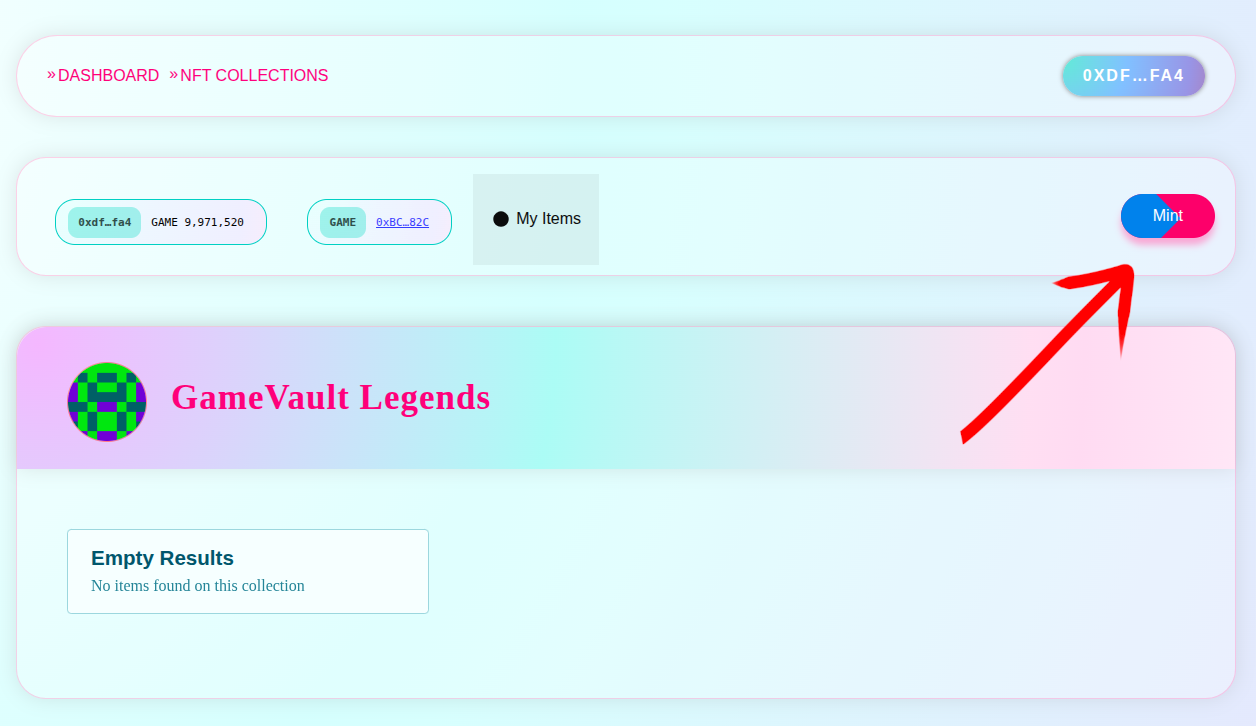
7 Open the Mint Item Panel
Once the contract is deployed and the UI loads, click Mint to open the item creation panel. You will create your first NFT item in the collection.
Create and Mint Your First NFT Item
Use the item creation form to set the title, description, attributes, and media. Then upload your image to IPFS and mint the NFT.
8 Fill in Item Details
Enter the Title, Description, and any Attributes (traits) for your NFT item. Attributes help buyers understand the uniqueness or properties of the item.
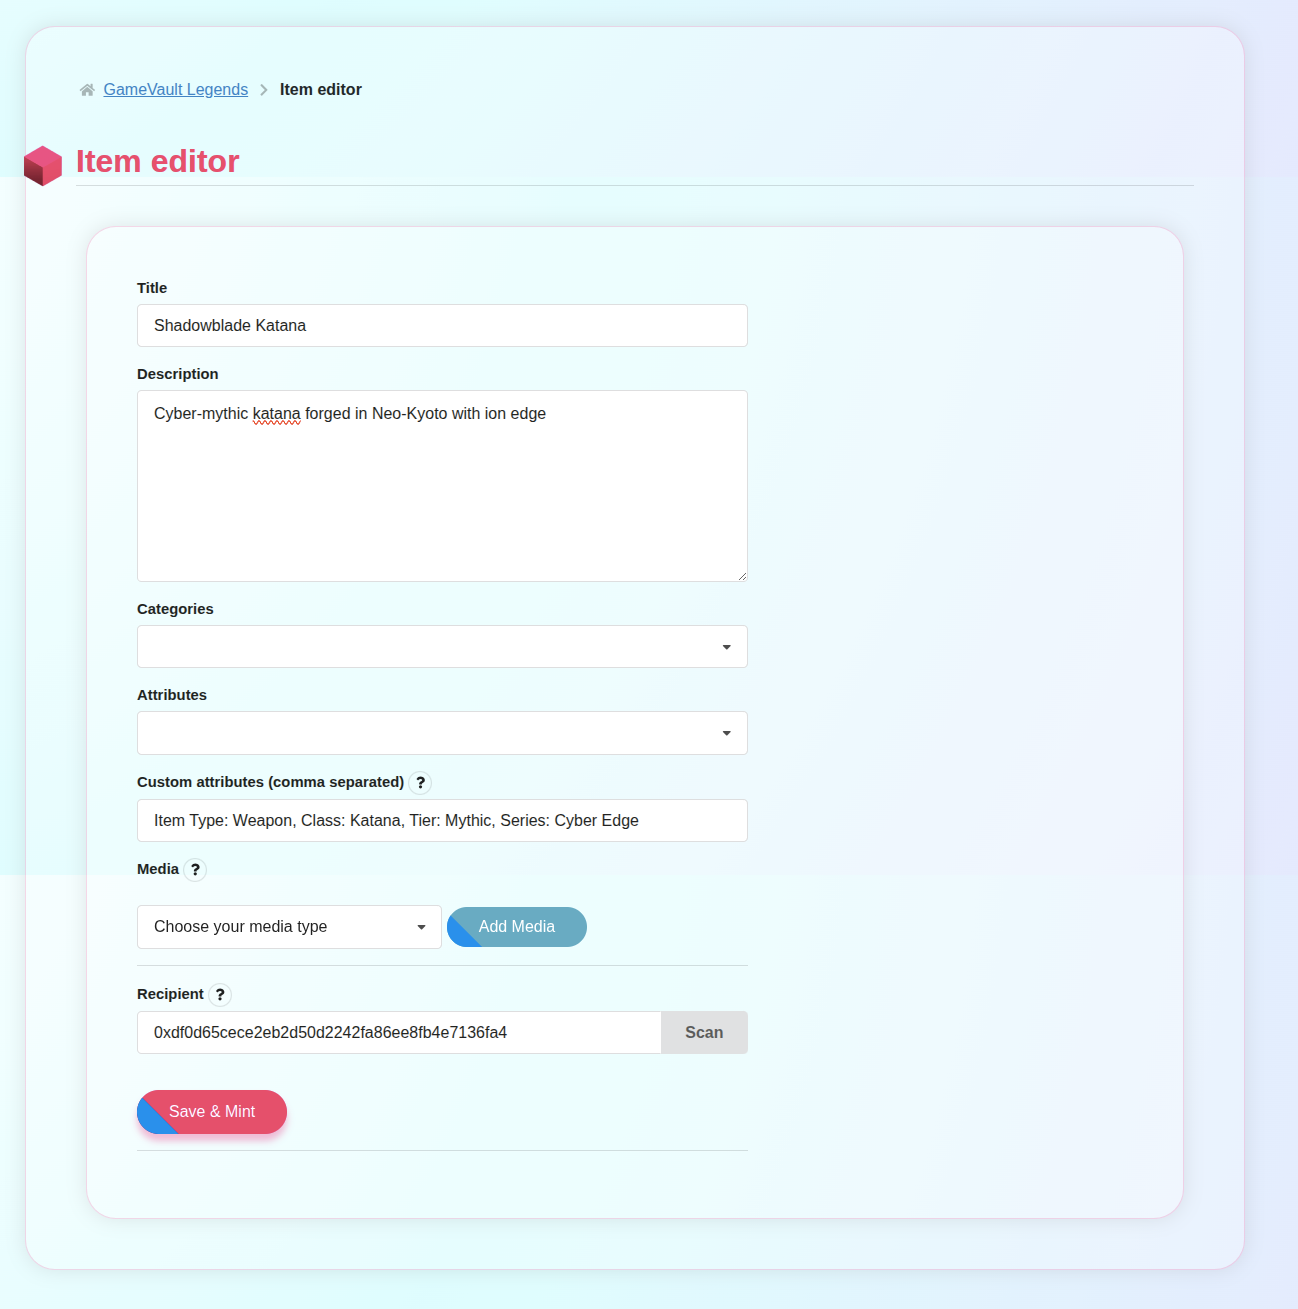
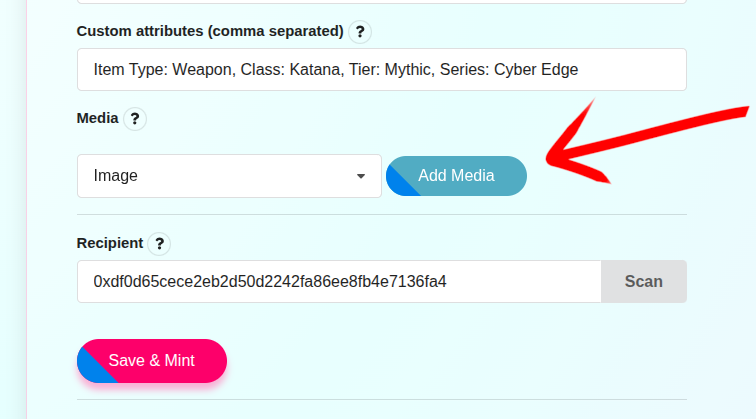
9 Select Media Type and Add Media
Choose Image as the media type. Click Add Media to upload the image that will represent your NFT item.
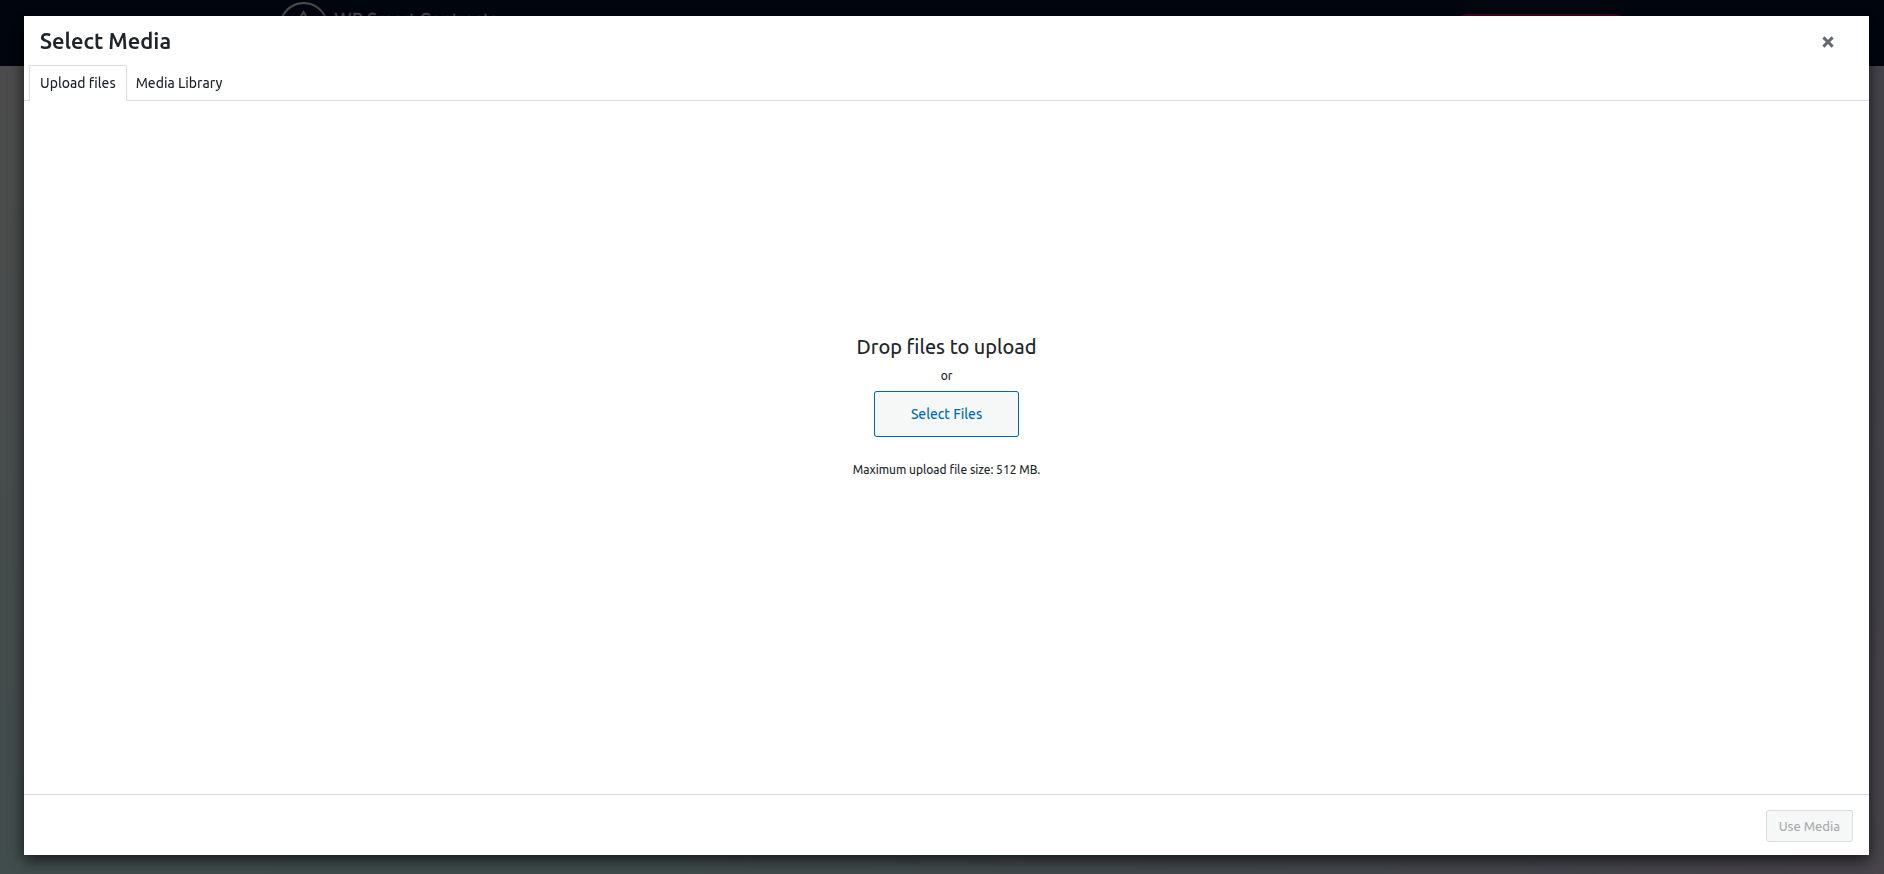
10 Upload Files
Click Upload Files and then Select Files. Choose the image from your computer. The system will prepare it for IPFS upload.
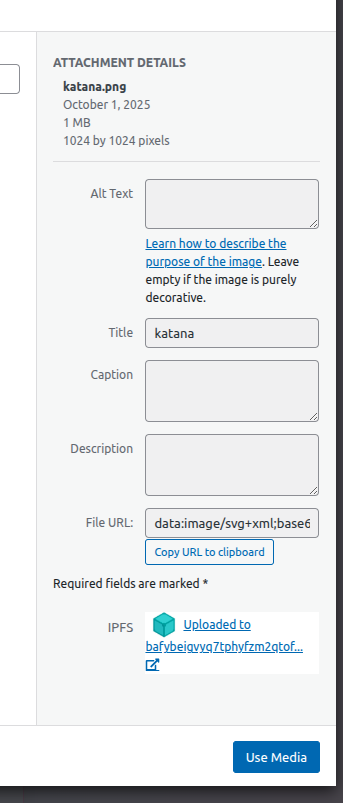
11 Wait for IPFS Upload
Wait while the image is uploaded to the IPFS service. This can take a moment, and the image preview might take a few minutes to propagate across gateways.
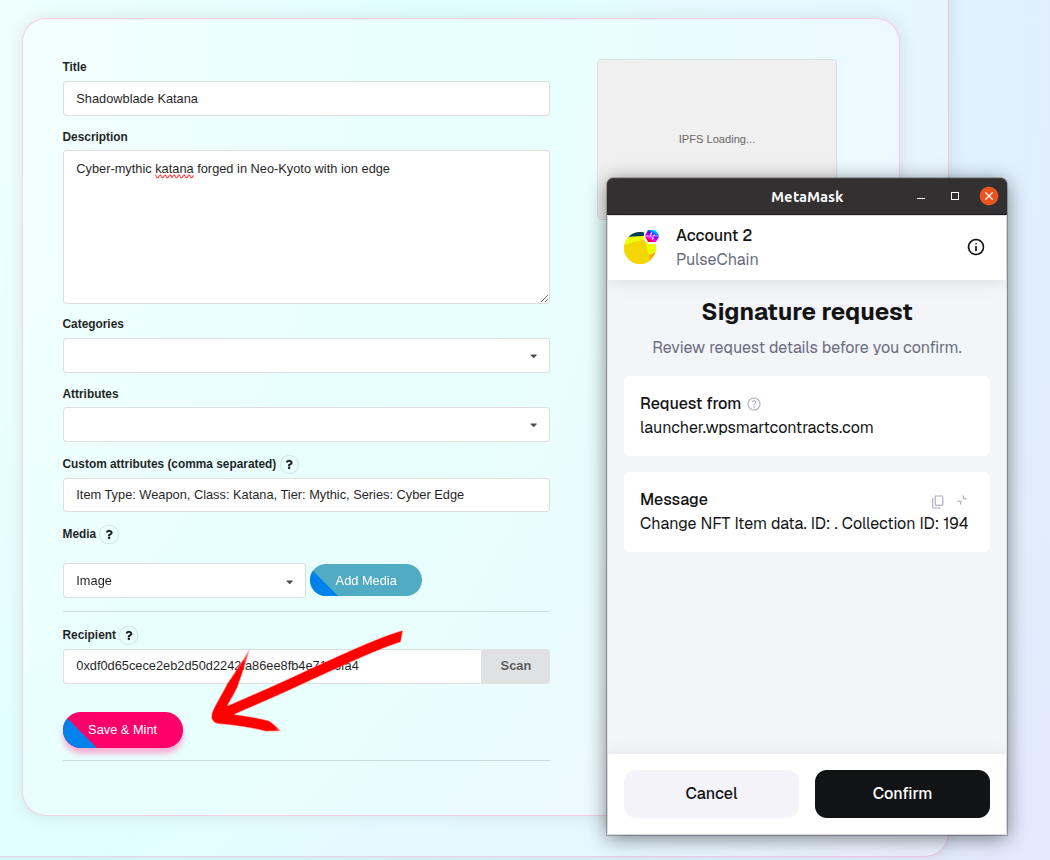
12 Save and Mint (Sign)
Click Save & Mint. Your wallet will ask for a signature to authorize the metadata operation. Confirm the signature in MetaMask.
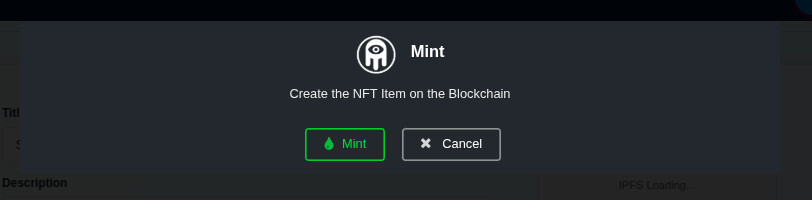
13 Mint the NFT
After signing, click Mint to execute the on-chain mint operation for your item. This creates the NFT token in your collection.
14 Confirm the Transaction
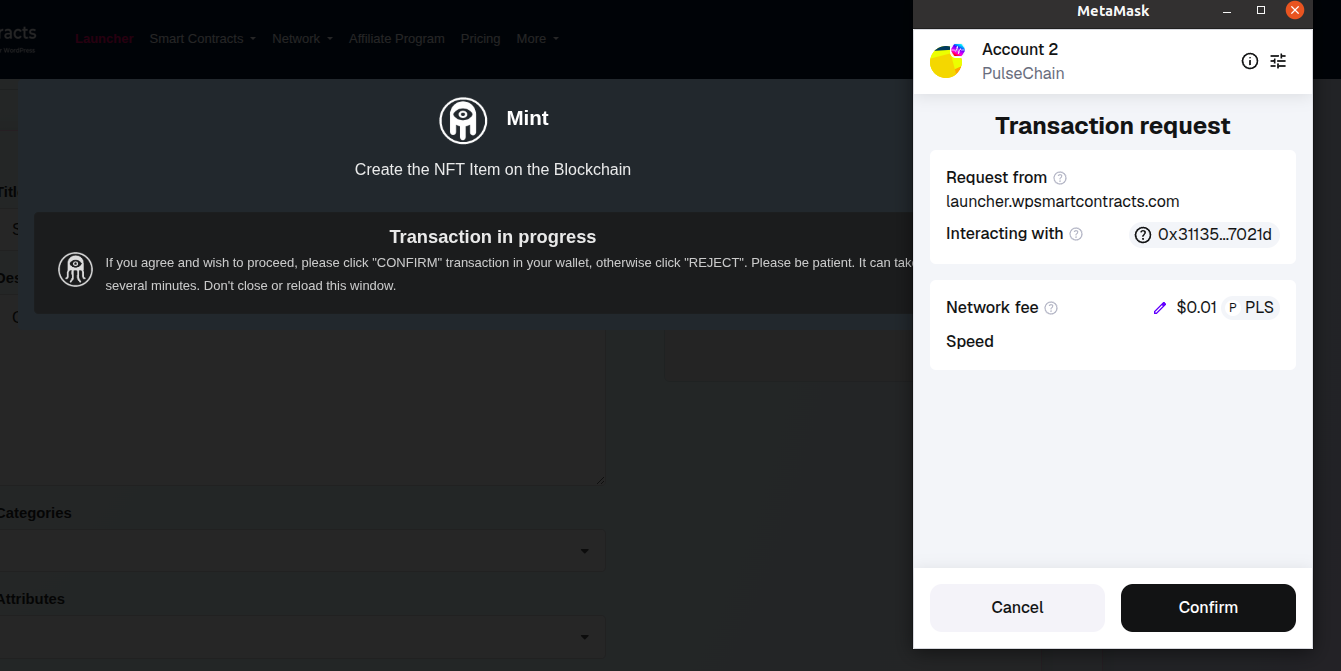
Confirm the mint transaction in MetaMask. Wait for it to be mined. Once confirmed, the NFT exists on-chain and appears in the interface.
15 Item On-Chain with Metadata
The minted NFT item is displayed along with its on-chain data and metadata (title, description, attributes, and image). You can now proceed to list it for sale or auction.
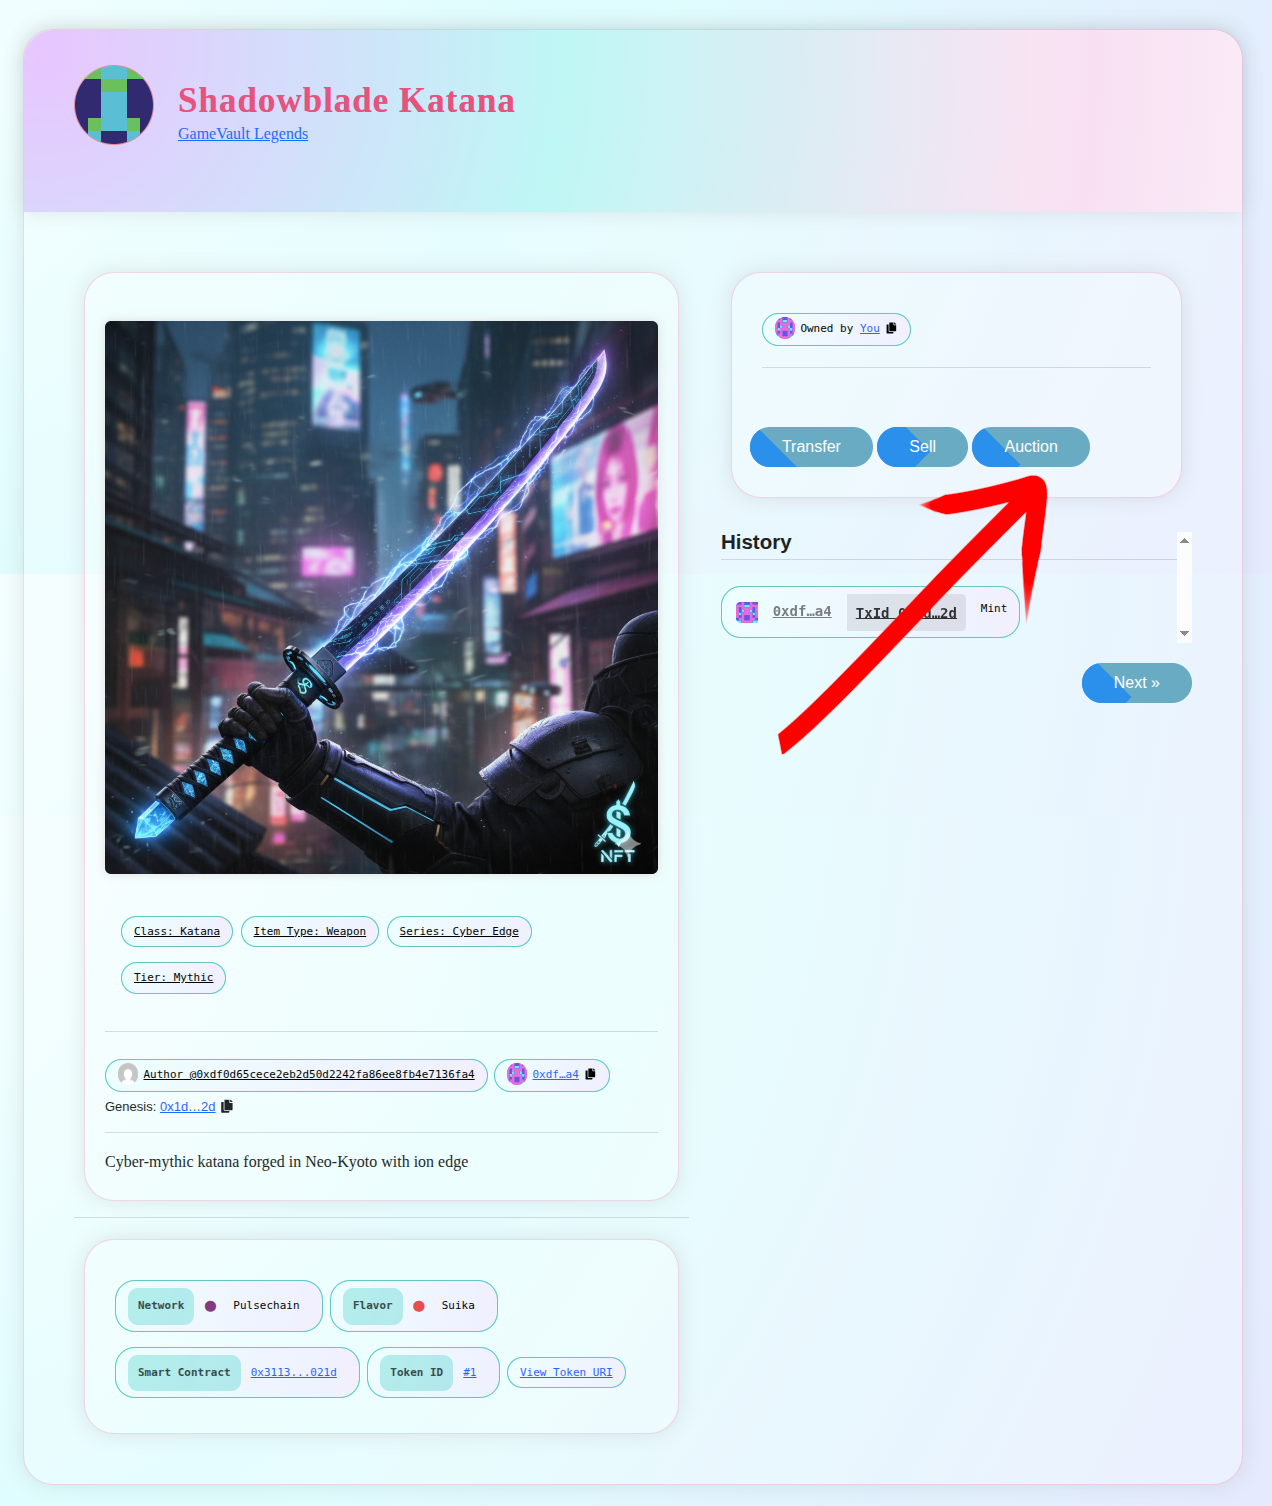
List the Item for Sale or Auction (Pay with GAME)
Choose between a fixed-price sale or an auction. Since the marketplace accepts the GAME token, buyers will pay in GAME.
16 Choose Sale Type and Configure
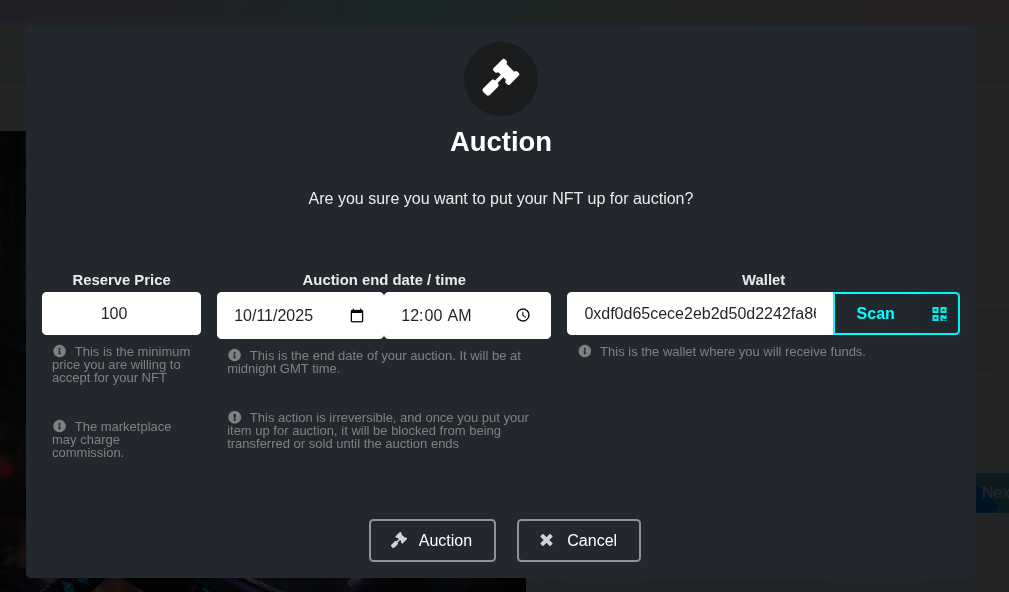
Click Sell or Auction depending on your preferred listing method using the GAME token:
- Fixed Price: Set a price in GAME and your seller wallet address.
- Auction: Set a reserve price in GAME, expiration date/time, and your seller wallet address.
When ready, click List (or Auction) and confirm the transaction in MetaMask.
17 Listing Visible
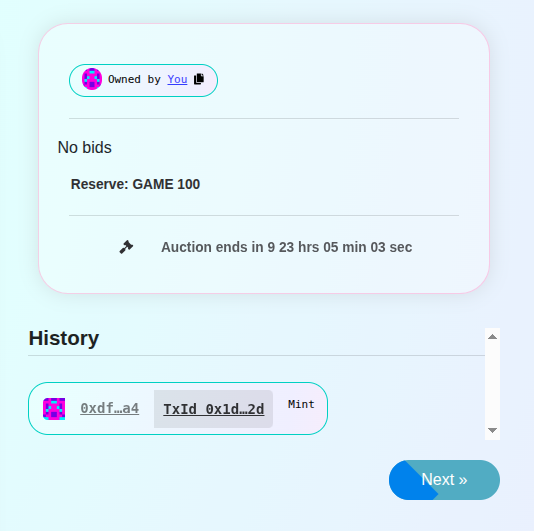
Your item now appears as For Sale or In Auction with the price shown in GAME. Share the item page so buyers can purchase using the GAME token.
End-to-End Smart Contract Development
Need something the flavors don’t cover? Suika Labs, the company behind WP Smart Contracts, delivers professional blockchain solutions with a proven track record since 2019.
- Full-stack blockchain development
- Oracle integrations & DeFi protocols
- UI design & deployment support